Essential Steps to Fix a Water-Damaged iPhone
Getting our favorite iPhones wet can be incredibly shocking. Water mishaps occur when your iPhone slipped into a water muddle or swimming pool. Then your iPhone becomes a serious issue.
However, you do not need to worry about it. We have provided the basic steps to repair a water-damaged iPhone and bring it back to life below.
Applying these basic but useful techniques, you may easily recover your device and make it work again.
1: Assessing the Damage
Repairing a water-damaged iPhone begins with assessing the extent of the damage. Here’s what you should do:
For safety reasons, it is important to power off your phone immediately if it still works. The device is powered off by sliding the power button when the “Slide to Power Off” appears.
2: Check for Visible Water: Check for water and moisture damage on your iPhone. First, try to take out the battery and have a look at the charging port, the headphone jack, and the SIM card slot.
Getting Rid of iPhone Moisture
You should then dry your iPhone once you evaluate the extent of the damage it has incurred. Follow these steps carefully:
Pat Dry with a Soft Cloth: It is advisable to wipe your iPhone gently using a dry and lint free soft cloth to avoid any more harm. Do not roll the device; this is likely to make the situation worse.
Shake Out Excess Water: Mainly in an iPhone, orient the side with the charging ports downwards and then gently shake it to remove as much water as possible.
Use Silica Gel Packets: If you have dropped your iPhone in a liquid, you should take it and place it inside a sealed container or bag containing packets of silica gel or uncooked rice. These materials are useful in aid of optimization for mass absorption of moisture. Should be left to dry for 24-48 hours to allow the process of drying to occur so that properly dried results are obtained.
3: Avoiding Common Mistakes
This article provides information on what to do and not to do when your iPhone has been damaged by water. Consider the following:
Avoid Heat Sources: You should never use any heat items such as a hair dryer to dry the phone. Heat is particularly damaging to the internal components of the device.
Also, don’t turn on your iPhone or press any buttons before making it dry. This can cause a short circuit in the device.
4: Professional Assistance
If the preceding measures do not result in the above benefits for your iPhone, you should think about getting professional help. Think about the following choices:
Visit an Authorised Service Centre: Get in touch with any respectable repair business of your choice or an authorised Apple service centre. It is important to note that authorized experts are capable of diagnosing iPhones and making replacement recommendations.
Contact Apple Support: Please get guidance and information from Apple Support. Along with offering advice, they can point you toward the closest service facility or authorised repair shop.
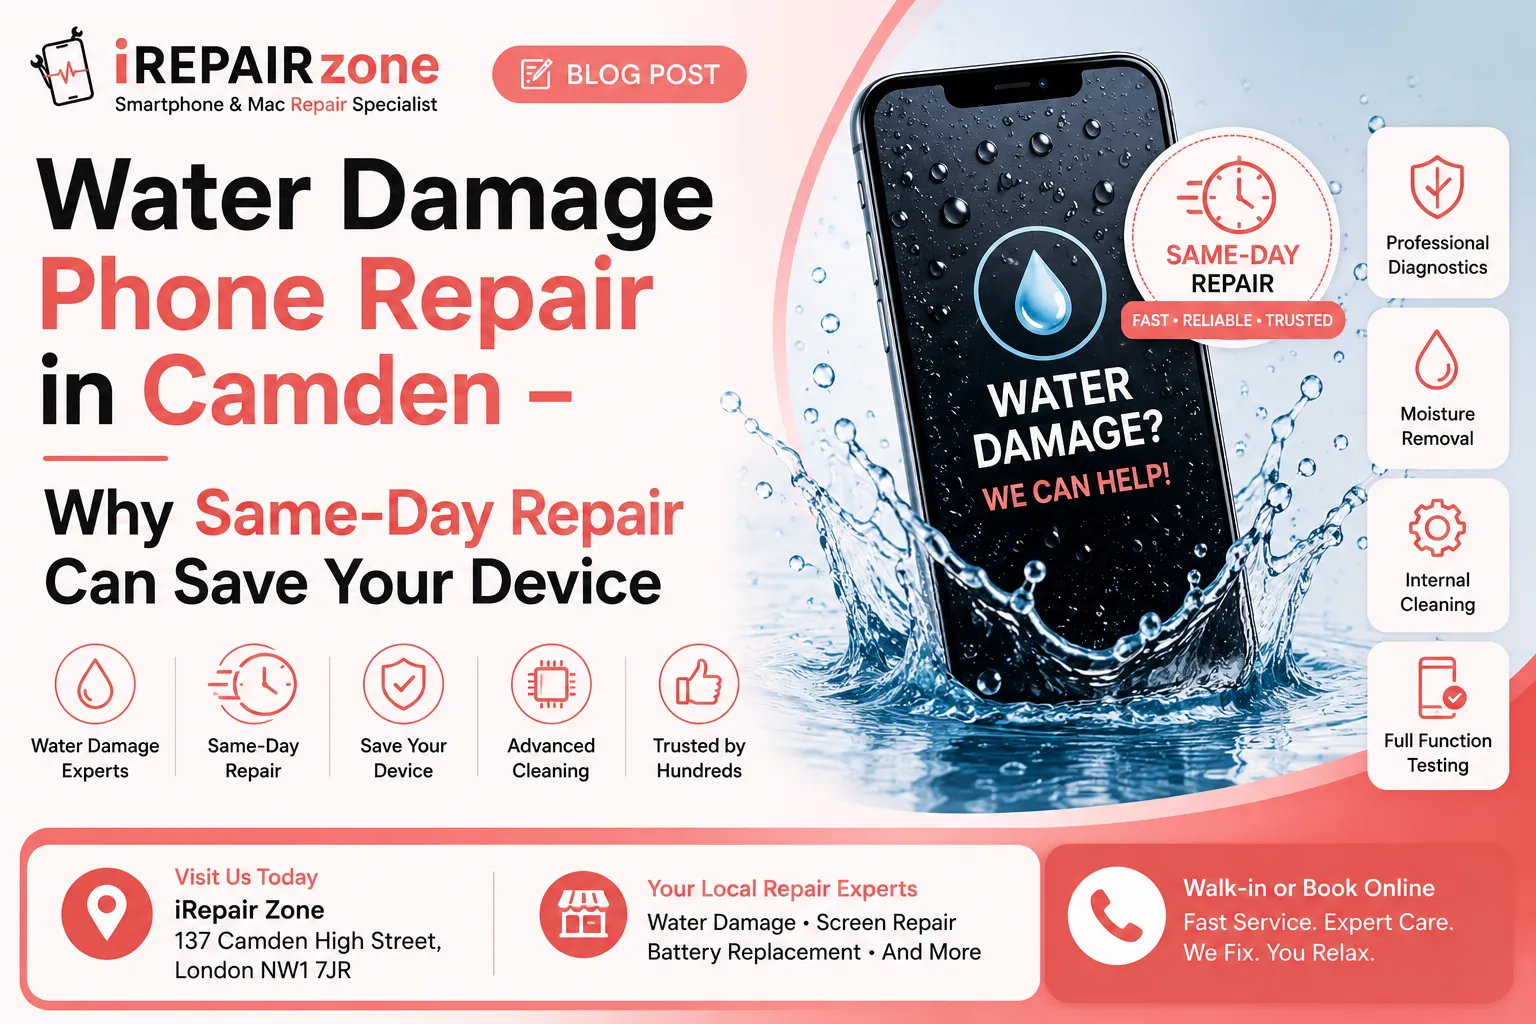
iPhone Water Damage Repair in London
Conclusion:
Dealing with a water-related incident involving your iPhone can be stressful, but it is possible to restore your device if you know what to do. That is why timely assessment of the damages is important.
As always, time is important, so do not waste time and follow all the guidelines mentioned in this guide. That’s all for today’s post! Hope it helps you fix your water-damaged iPhone.
Note: This blog post is to provide information only.
If you try to change something on your iPhone on your own, then it may nullify the warranty of the device. If you are still in doubt or you do not wish to do it yourself, then it is advisable to consult a professional.